Install Tipi Home Server
Introduction to Tipi
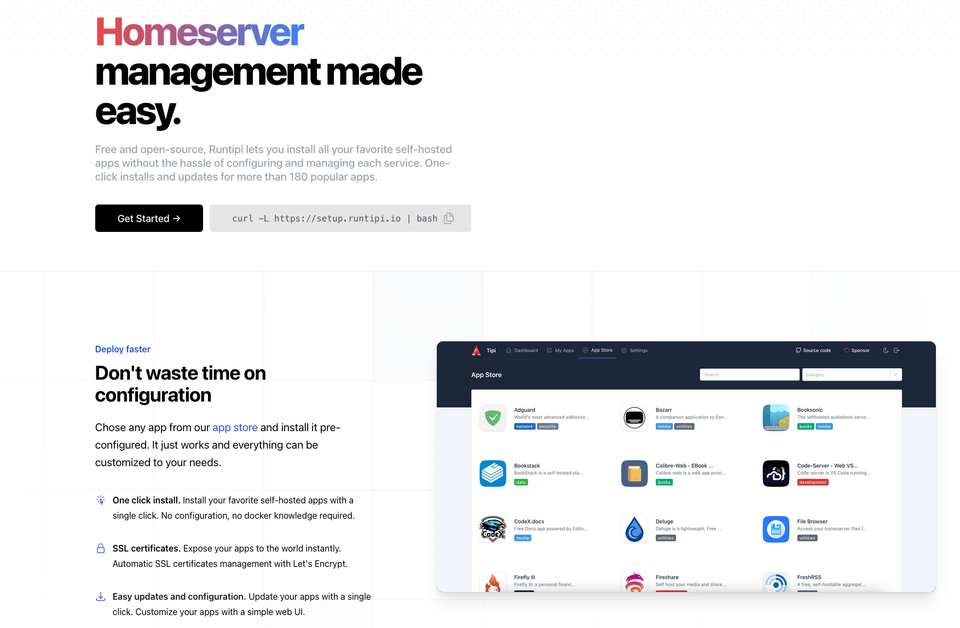
Tipi is an advanced home server orchestration platform designed to simplify the deployment and management of server applications and services. It provides users with an intuitive way to set up and maintain a home server, catering to various needs like file storage, media streaming, and more.
Overview of Installation Steps
- Download Ubuntu Server: The base operating system for running Tipi.
- Install Ubuntu Server: Set up the operating system on your server hardware.
- Prepare the Server Environment: Basic setup for running Tipi.
- Install Tipi: The final step to get the Tipi platform running.
Detailed Installation Guide
Step 1: Downloading Ubuntu Server
- Visit the Ubuntu Server download page: Ubuntu Server Download.
- Choose the appropriate version for your server (generally the latest LTS version).
- Download the ISO file to create a bootable installation medium.
Step 2: Installing Ubuntu Server
- Create a bootable USB drive with the Ubuntu Server ISO using Balena Etcher.
- Download Balena Etcher from Balena Etcher Download.
- Insert the bootable USB into your server and boot from it.
- Follow the on-screen instructions to install Ubuntu Server.
- Choose language, region, keyboard layout, network settings, etc.
- Set up a new user and password.
- If prompted, install any additional software or features relevant to your needs.
Step 3: Preparing the Server Environment
Change the root password:
sudo passwd rootEnable the root user:
sudo passwd -u rootSwitch to root user:
sudo su -Update your server system:
sudo apt-get update && sudo apt-get upgrade -yStep 4: Installing Tipi
Install Tipi with a single command:
curl -L https://setup.runtipi.io | bash- Follow any on-screen prompts to complete the installation.
Post-Installation
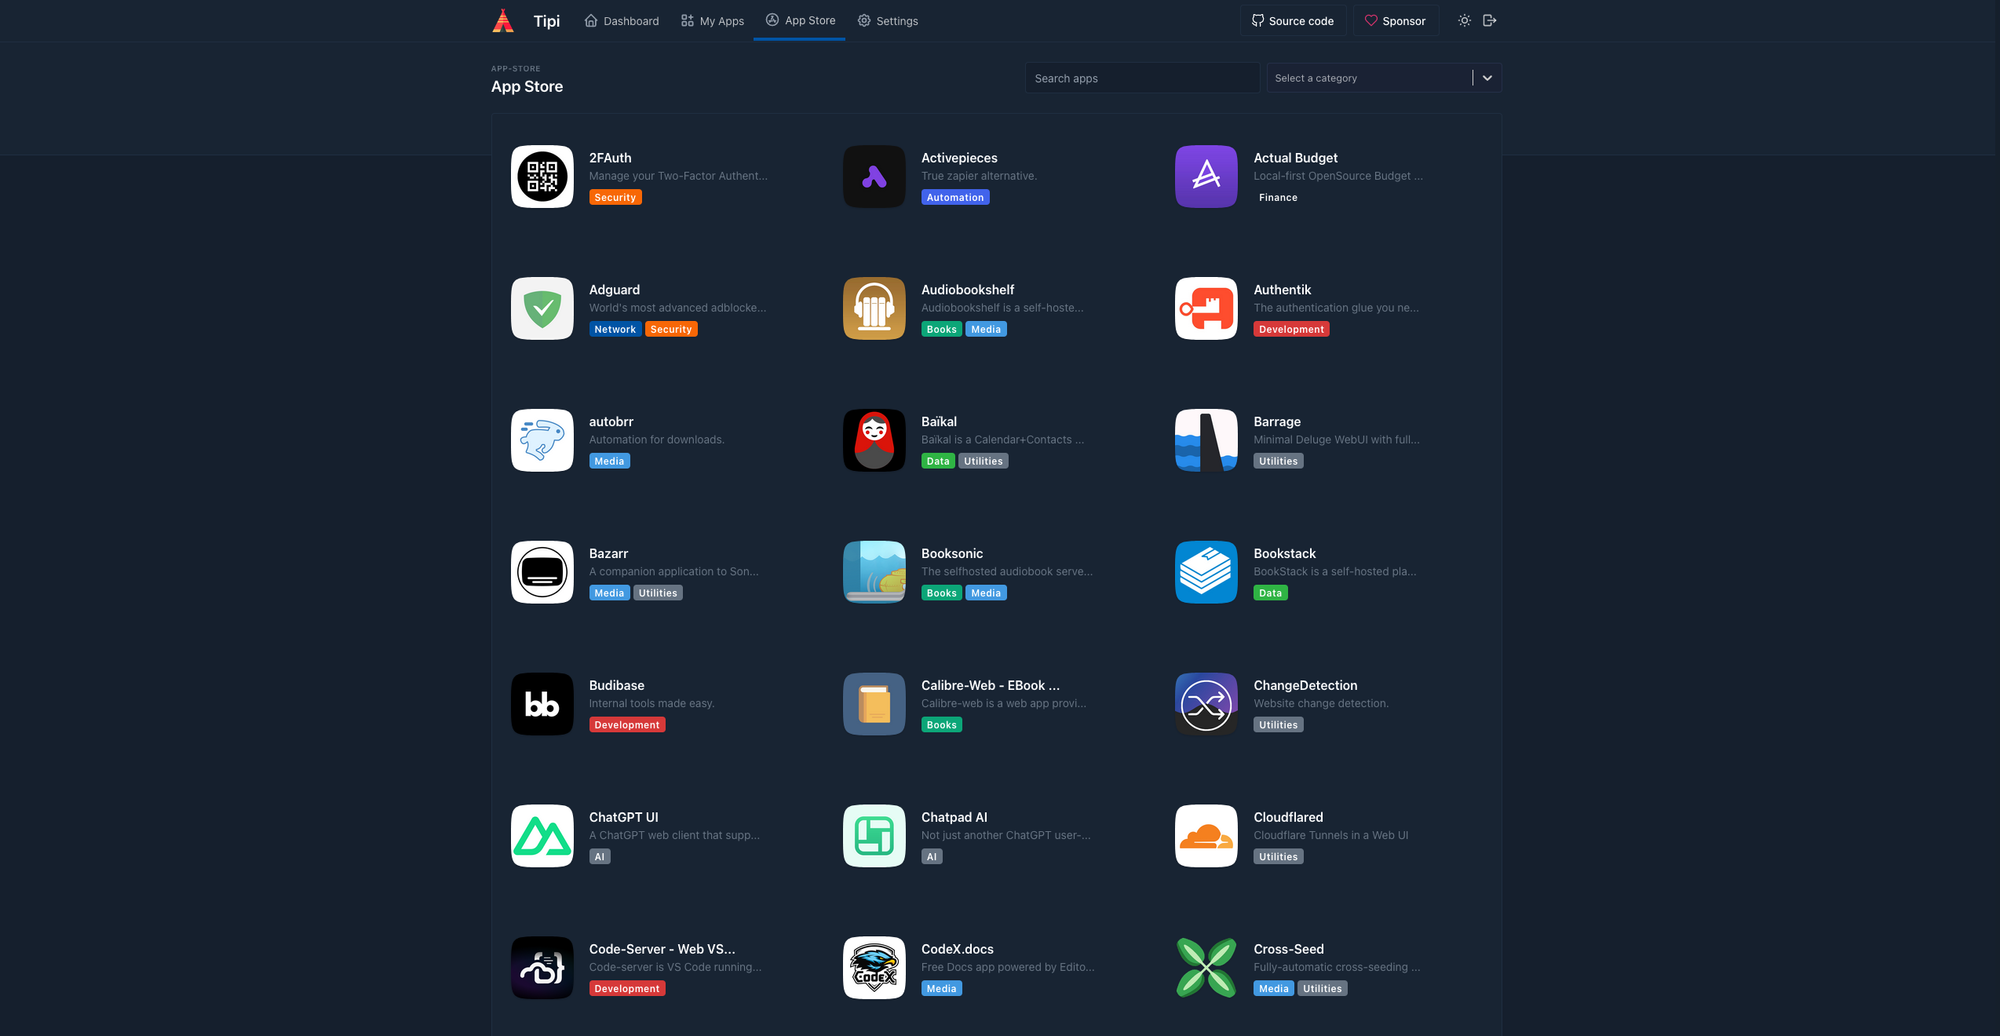
- Once installed, you can access the Tipi dashboard through your web browser.
- Refer to the Tipi Documentation. for configuring and managing your new home server.