Install Casa OS on Ubuntu Server

Introduction to Casa OS
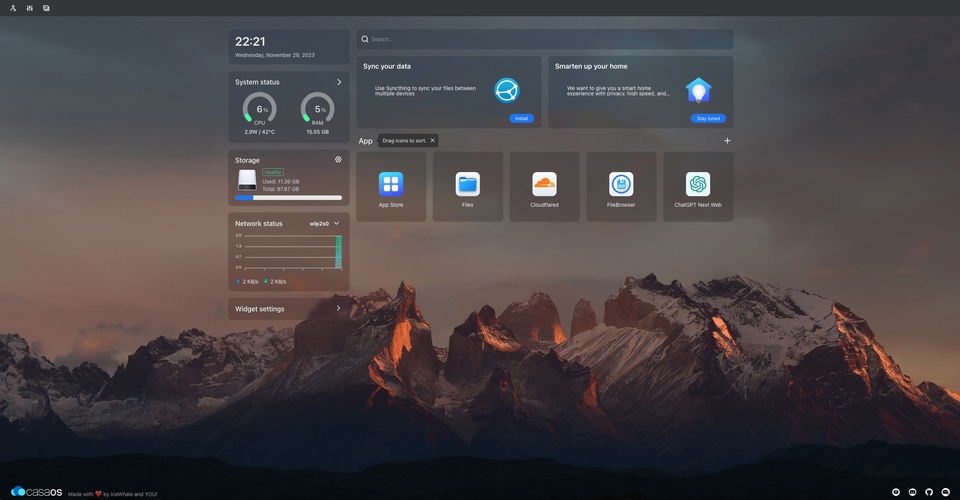
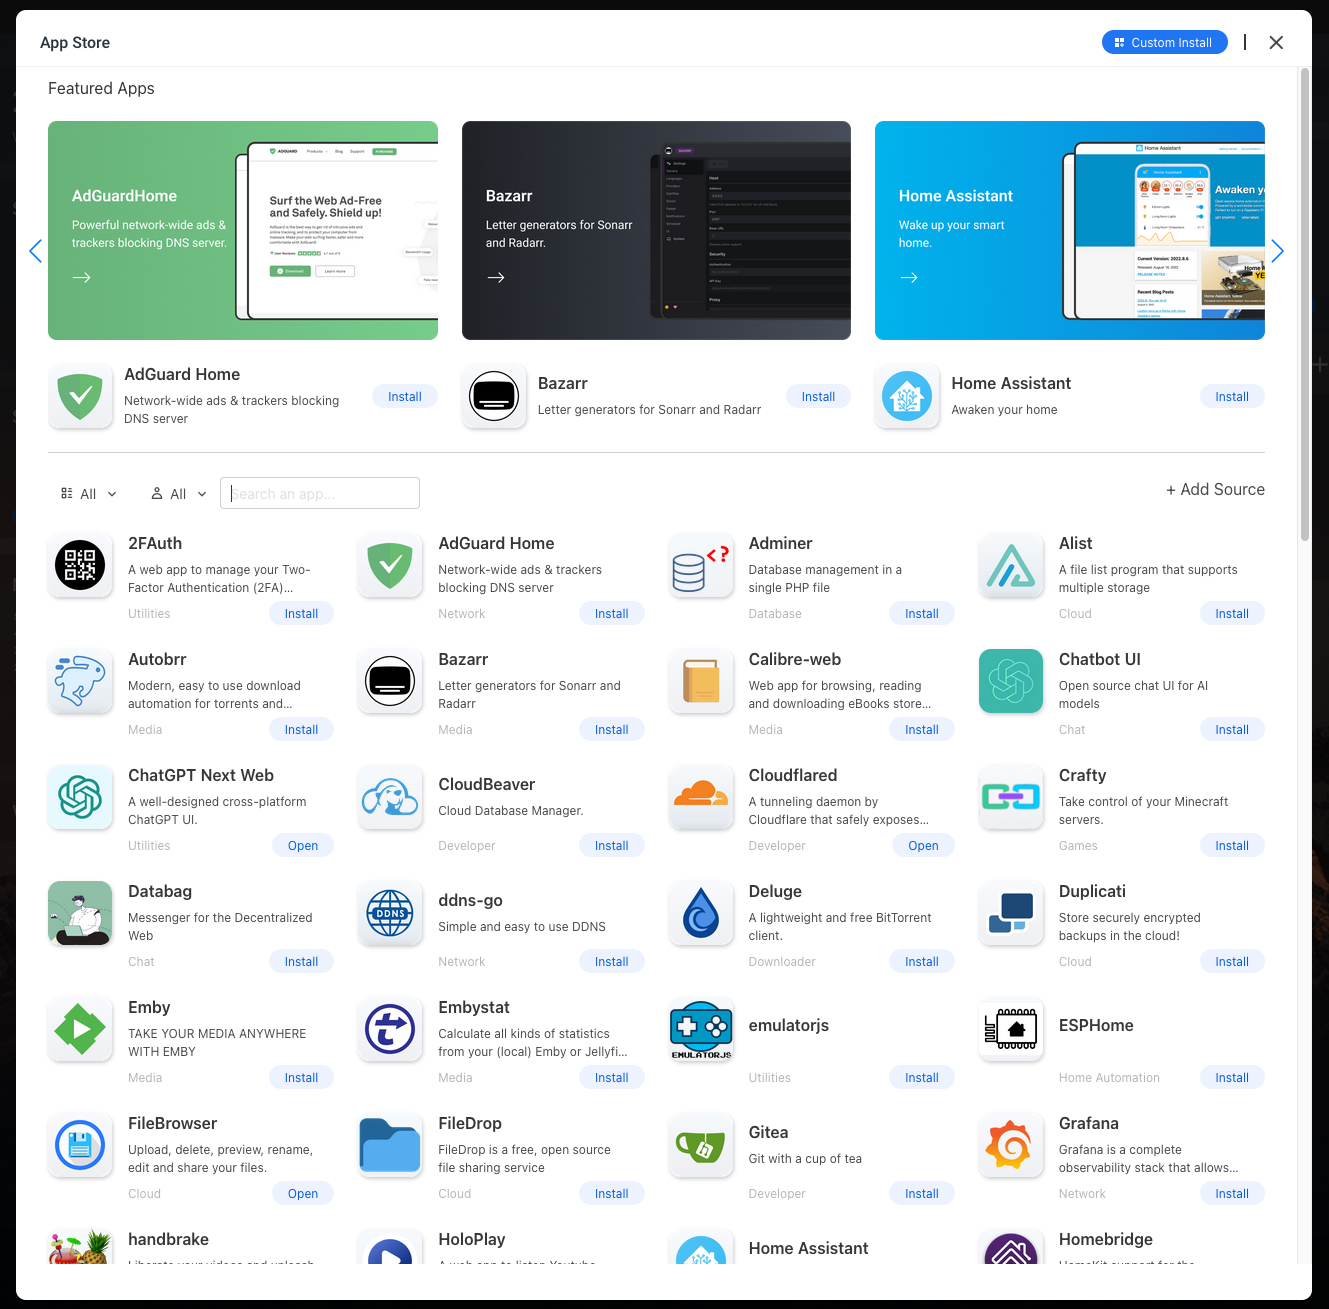
Casa OS is a streamlined and user-friendly home server software, designed to facilitate the management and operation of home server applications and services. It is particularly noted for its ease of use and installation, making it a great choice for those new to home server setups.

Overview of Installation Steps
- Download Ubuntu Server: The foundational operating system for Casa OS.
- Install Ubuntu Server: Initial setup of your server hardware with Ubuntu.
- Prepare the Server Environment: Essential configurations for Casa OS.
- Install Casa OS: Executing the installation script for Casa OS.
Detailed Installation Guide
Step 1: Downloading Ubuntu Server
- Visit the Ubuntu Server Download Page.
- Select the version best suited for your server, typically the latest LTS release.
- Download the ISO file for creating a bootable installation medium.
Step 2: Installing Ubuntu Server
- Create a bootable USB using the Ubuntu Server ISO. Use Balena Etcher, downloadable at Balena Etcher Download.
- Insert the USB into your server and boot from it. Follow the installation instructions:
- Choose your preferred language, region, and keyboard layout.
- Configure network and disk settings.
- Create a user account with a secure password.
- Optionally, install additional software as required.
Step 3: Preparing the Server Environment
- Change the root password:
sudo passwd root- Enable the root user:
sudo passwd -u root- Switch to root user:
sudo su -- Update your server system:
sudo apt-get update && sudo apt-get upgrade -yStep 4: Installing Casa OS
Install Casa OS with the provided command:
curl -fsSL https://get.casaos.io | sudo bashFollow any prompts to complete the Casa OS installation.
Post-Installation
- Access the Casa OS dashboard via your web browser to start configuring and managing your home server.
- For further information and support, consult the Casa OS website and community resources.
